We had a pretty cold winter in NH that kept me off the boat for a few months other than to check in to make sure the cover was holding up. However, the planning and scheming never stopped in my head and did do a few minor projects over the past few months. The planning I did was really a logistics exercise for the engine installation and I found a surprisingly large number of things that need to be done before the engine actually gets hoisted into place. Additionally, some of the items on the list are temperature dependent and have to be done once the temps start to rise.
So in a nutshell here is what has to be done (in rough order):
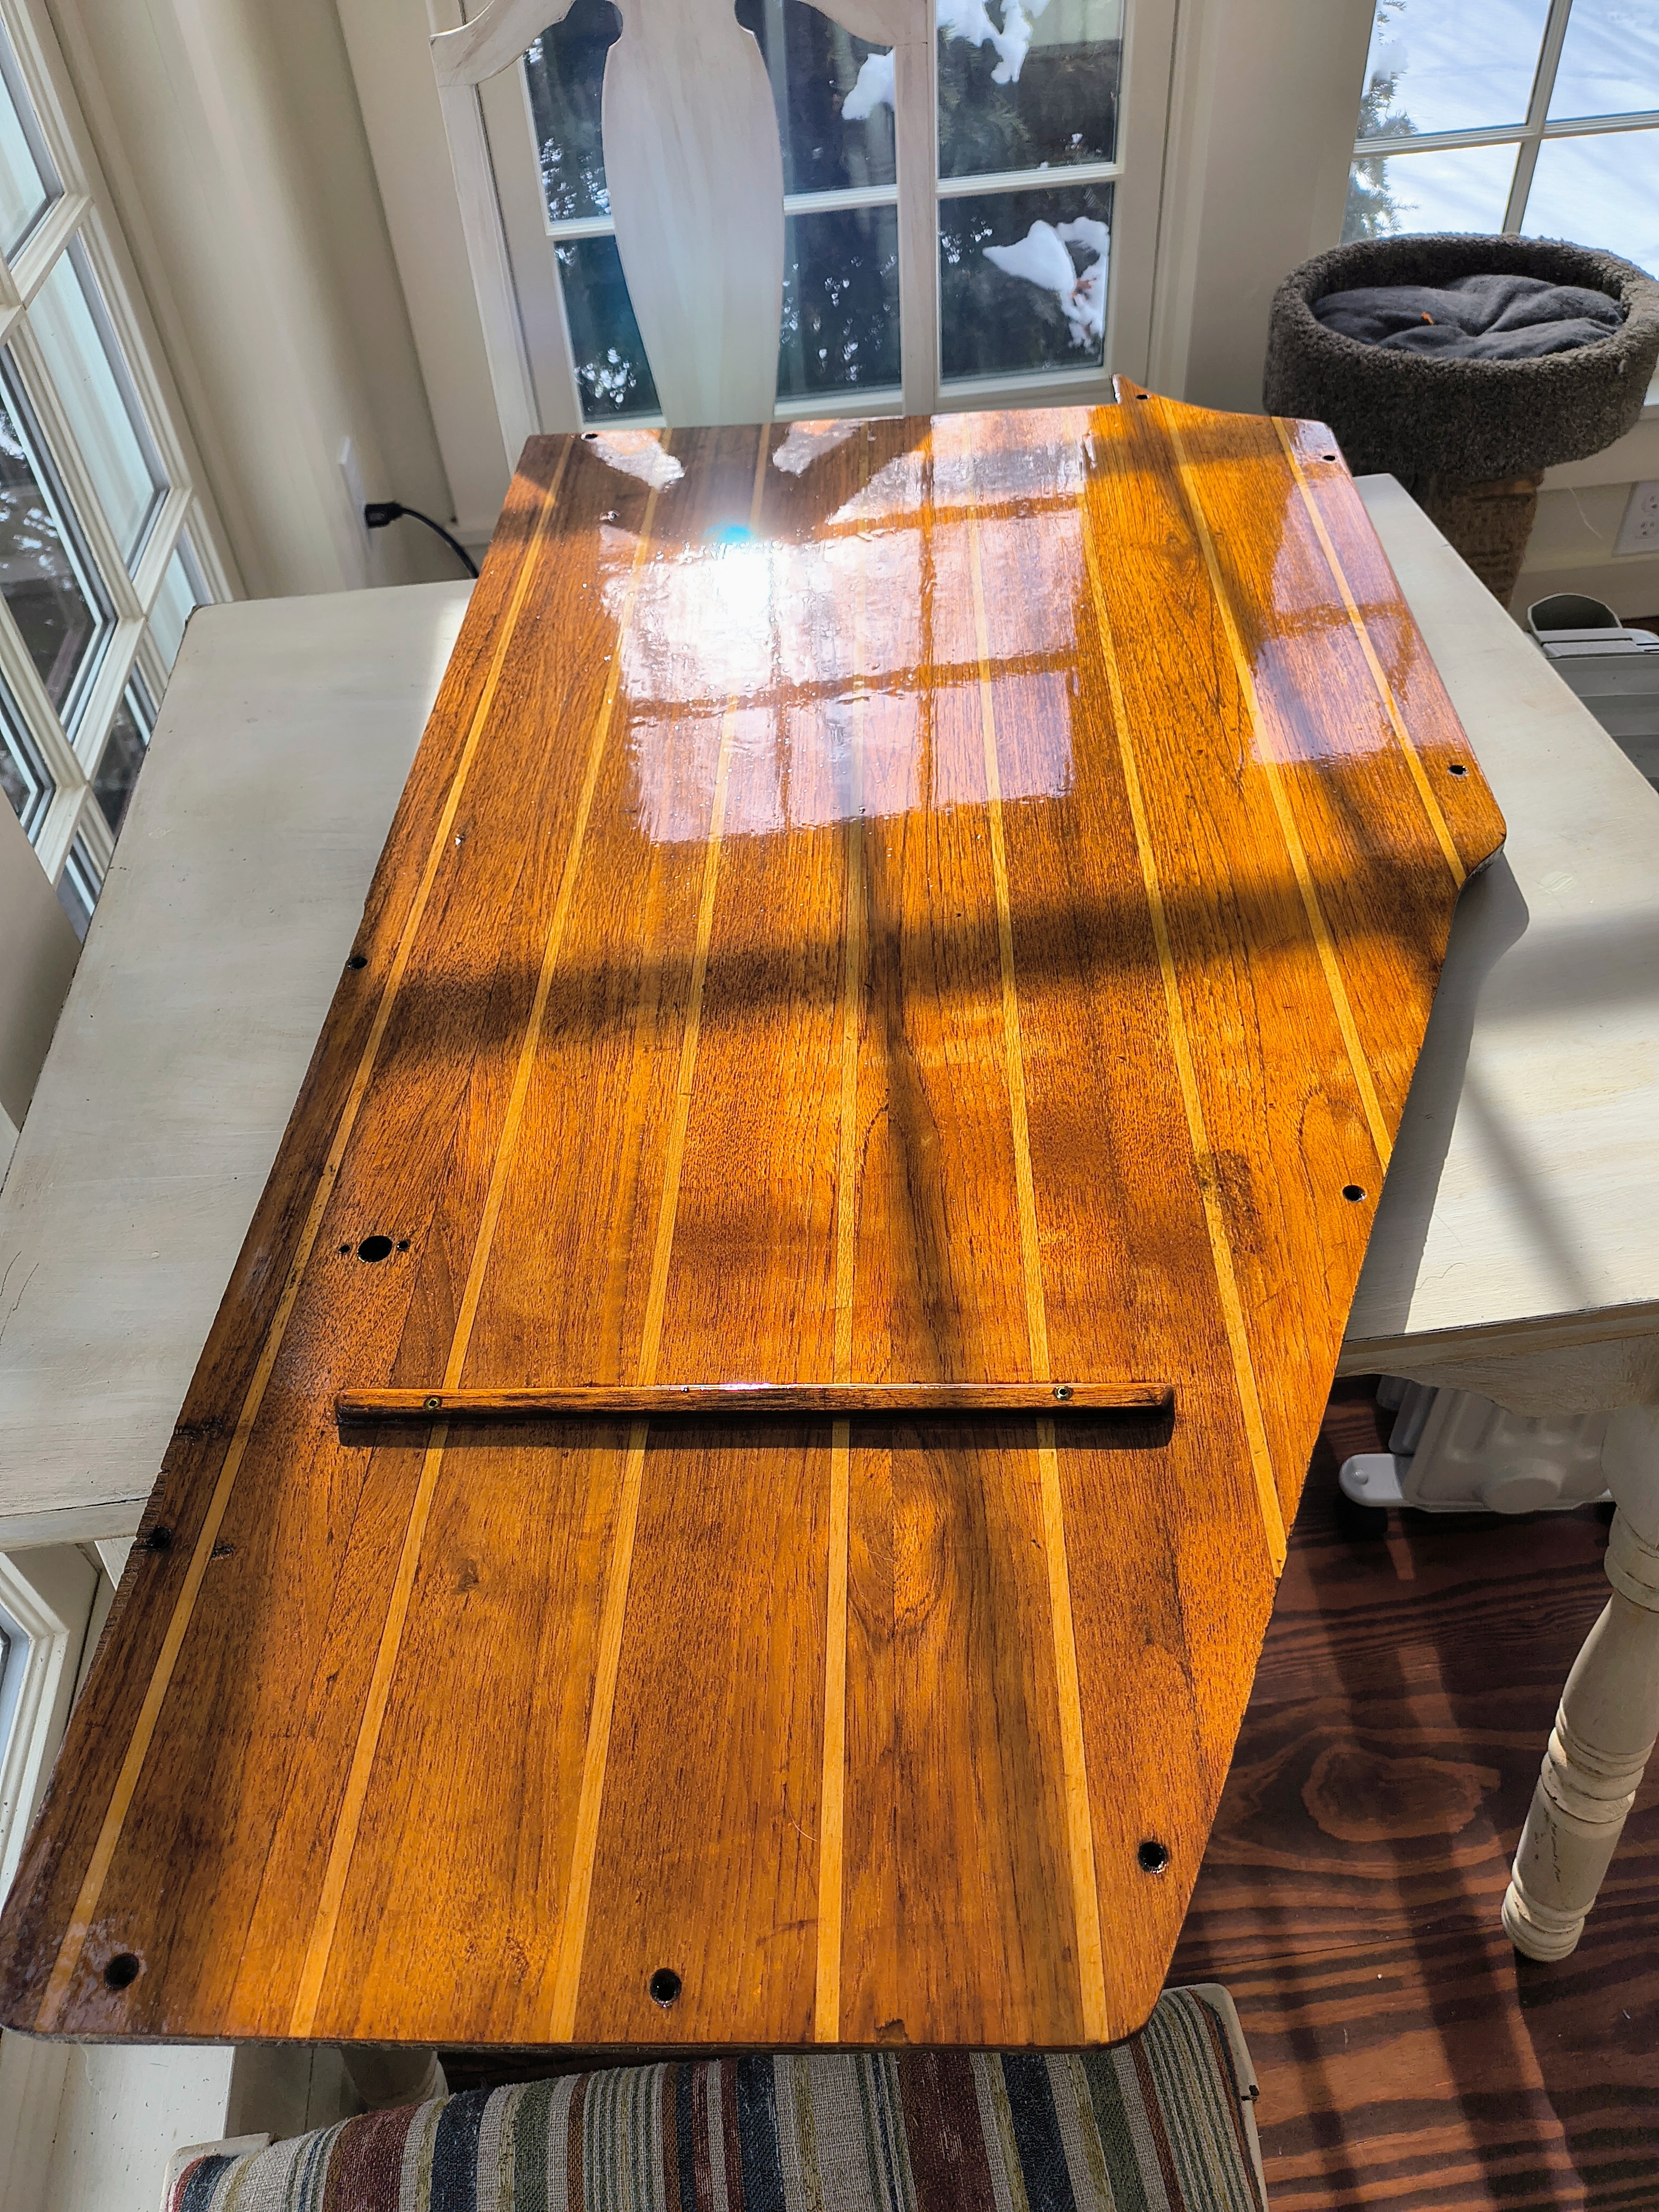
- Waterproof the top of the boat (The cover has to come off during engine install)
- Replace all gaskets on hatches and ports
- Rebed fixed windows
- Rebed deck hardware
- Finish installing and bedding chainplates
- Cover engine control cutout
- Cover instrument cutouts
- Prepare engine compartment (temp dependent)
- Assess engine beds
- Add additional glass if needed
- Paint compartment
- Re-install strut (maybe temporarily to aid in shaft alignment later)
- Clean up and re-install exhaust and bilge pump fittings on stern
- Re-install water lift muffler and exhaust pipe to transom
- Choreograph engine installation plan
- Once the engine is lowered into companionway, how to get it onto engine beds
- Installation
- Remove cover
- Remove framing so crane can lower engine
- Schedule crane (the farm where I keep the boat has a myriad of big machinery, but I need to coordinate with the owner)
- Measure companionway opening and determine what needs to be removed from engine for install
- Run engine at shop and drain coolant (oil too?)
- Move engine from shop to boat and prep for hoist
- Hoist engine into boat
- Get engine on beds.

There's a lot of little things that won't take long and I know what to do, but there are a bunch of unknowns that I haven't done before and they are going to take some thought to do it right. Of course, after this is all done, I'll have to re-install the transmission, get the shaft aligned and installed, and install the new engine control panel, but I'll tackle that when I get there.


Finally, I don't like the exposed location of the engine controls, they are in direct sun and initially I was going to build an inset for the controls that would keep them somewhat protected when not in use, but I ended up designing a cover (AutoDesk Inventor) that I could snap on when not in use (most of the time). As we speak I'm printing the prototype on my 3d printer using TPU filament (95A durometer). TPU is a flexible filament (like rubber) and should be a decent solution. Time will tell how long the TPU will hold up in the sun, but even if it lasts a summer, I can alway print another.


No comments:
Post a Comment