I was happy to receive a package from Xometry (online CNC machine shop) and find the new tie rod blocks I designed exactly as specified and after a test fit I was relieved that everything fit well. They will be replacing the old ones that are in varying states from good to terrible and the 7075 aluminum coupled with hard anodization should provide many years of service.

As you can see in the photo to the left, the old ones (the 2 in the center) are in less than perfect condition and one of them is literally crumbling apart. It was definitely time to replace them. I'm really pleased with how they turned out and I was even more impressed with how easy it is to turn a design into a finished product. All you need to do is load a CAD drawing to the Xometry site, pick materials, finishes, spec tolerances (there are a number of levels going from prototype to mil spec). You can also choose production location (some companies require U.S. made products). Although none of this is cheap (I paid $460 for 6 blocks), it was likely less than what I would have paid locally, and the only supplier that I know of (rigrite.com) has photos of the blocks but no price listed and based on the cost of other discontinued items they have for sale, it would have cost a fortune.
Anyway, while that was happening I was busy building the G10 chainplate 'islands'. Originally, I was going to have these sent to Xometry as well, but I have enough tooling on hand to machine G10 plates myself. The design was simple (see last post) and using a series of jigs that I 3d printed, I was able to cut out perfect oval shapes and round over the corners for the tops and then glue the top and bottom (the part that inserts into the deck) together to make the final assembly. For the bottom inserts, I used .5" G10 that I had leftover from my Alberg project (G10 is expensive), so I saved some money there. All told, I spent $28 for .25" G10 plate for the top section and $40 for a new .5" flush cut router bit. Everything else I had on hand. Once everything was cut out, I epoxied the top and bottom halves together and tapped the holes for the deck mounted chainplate.

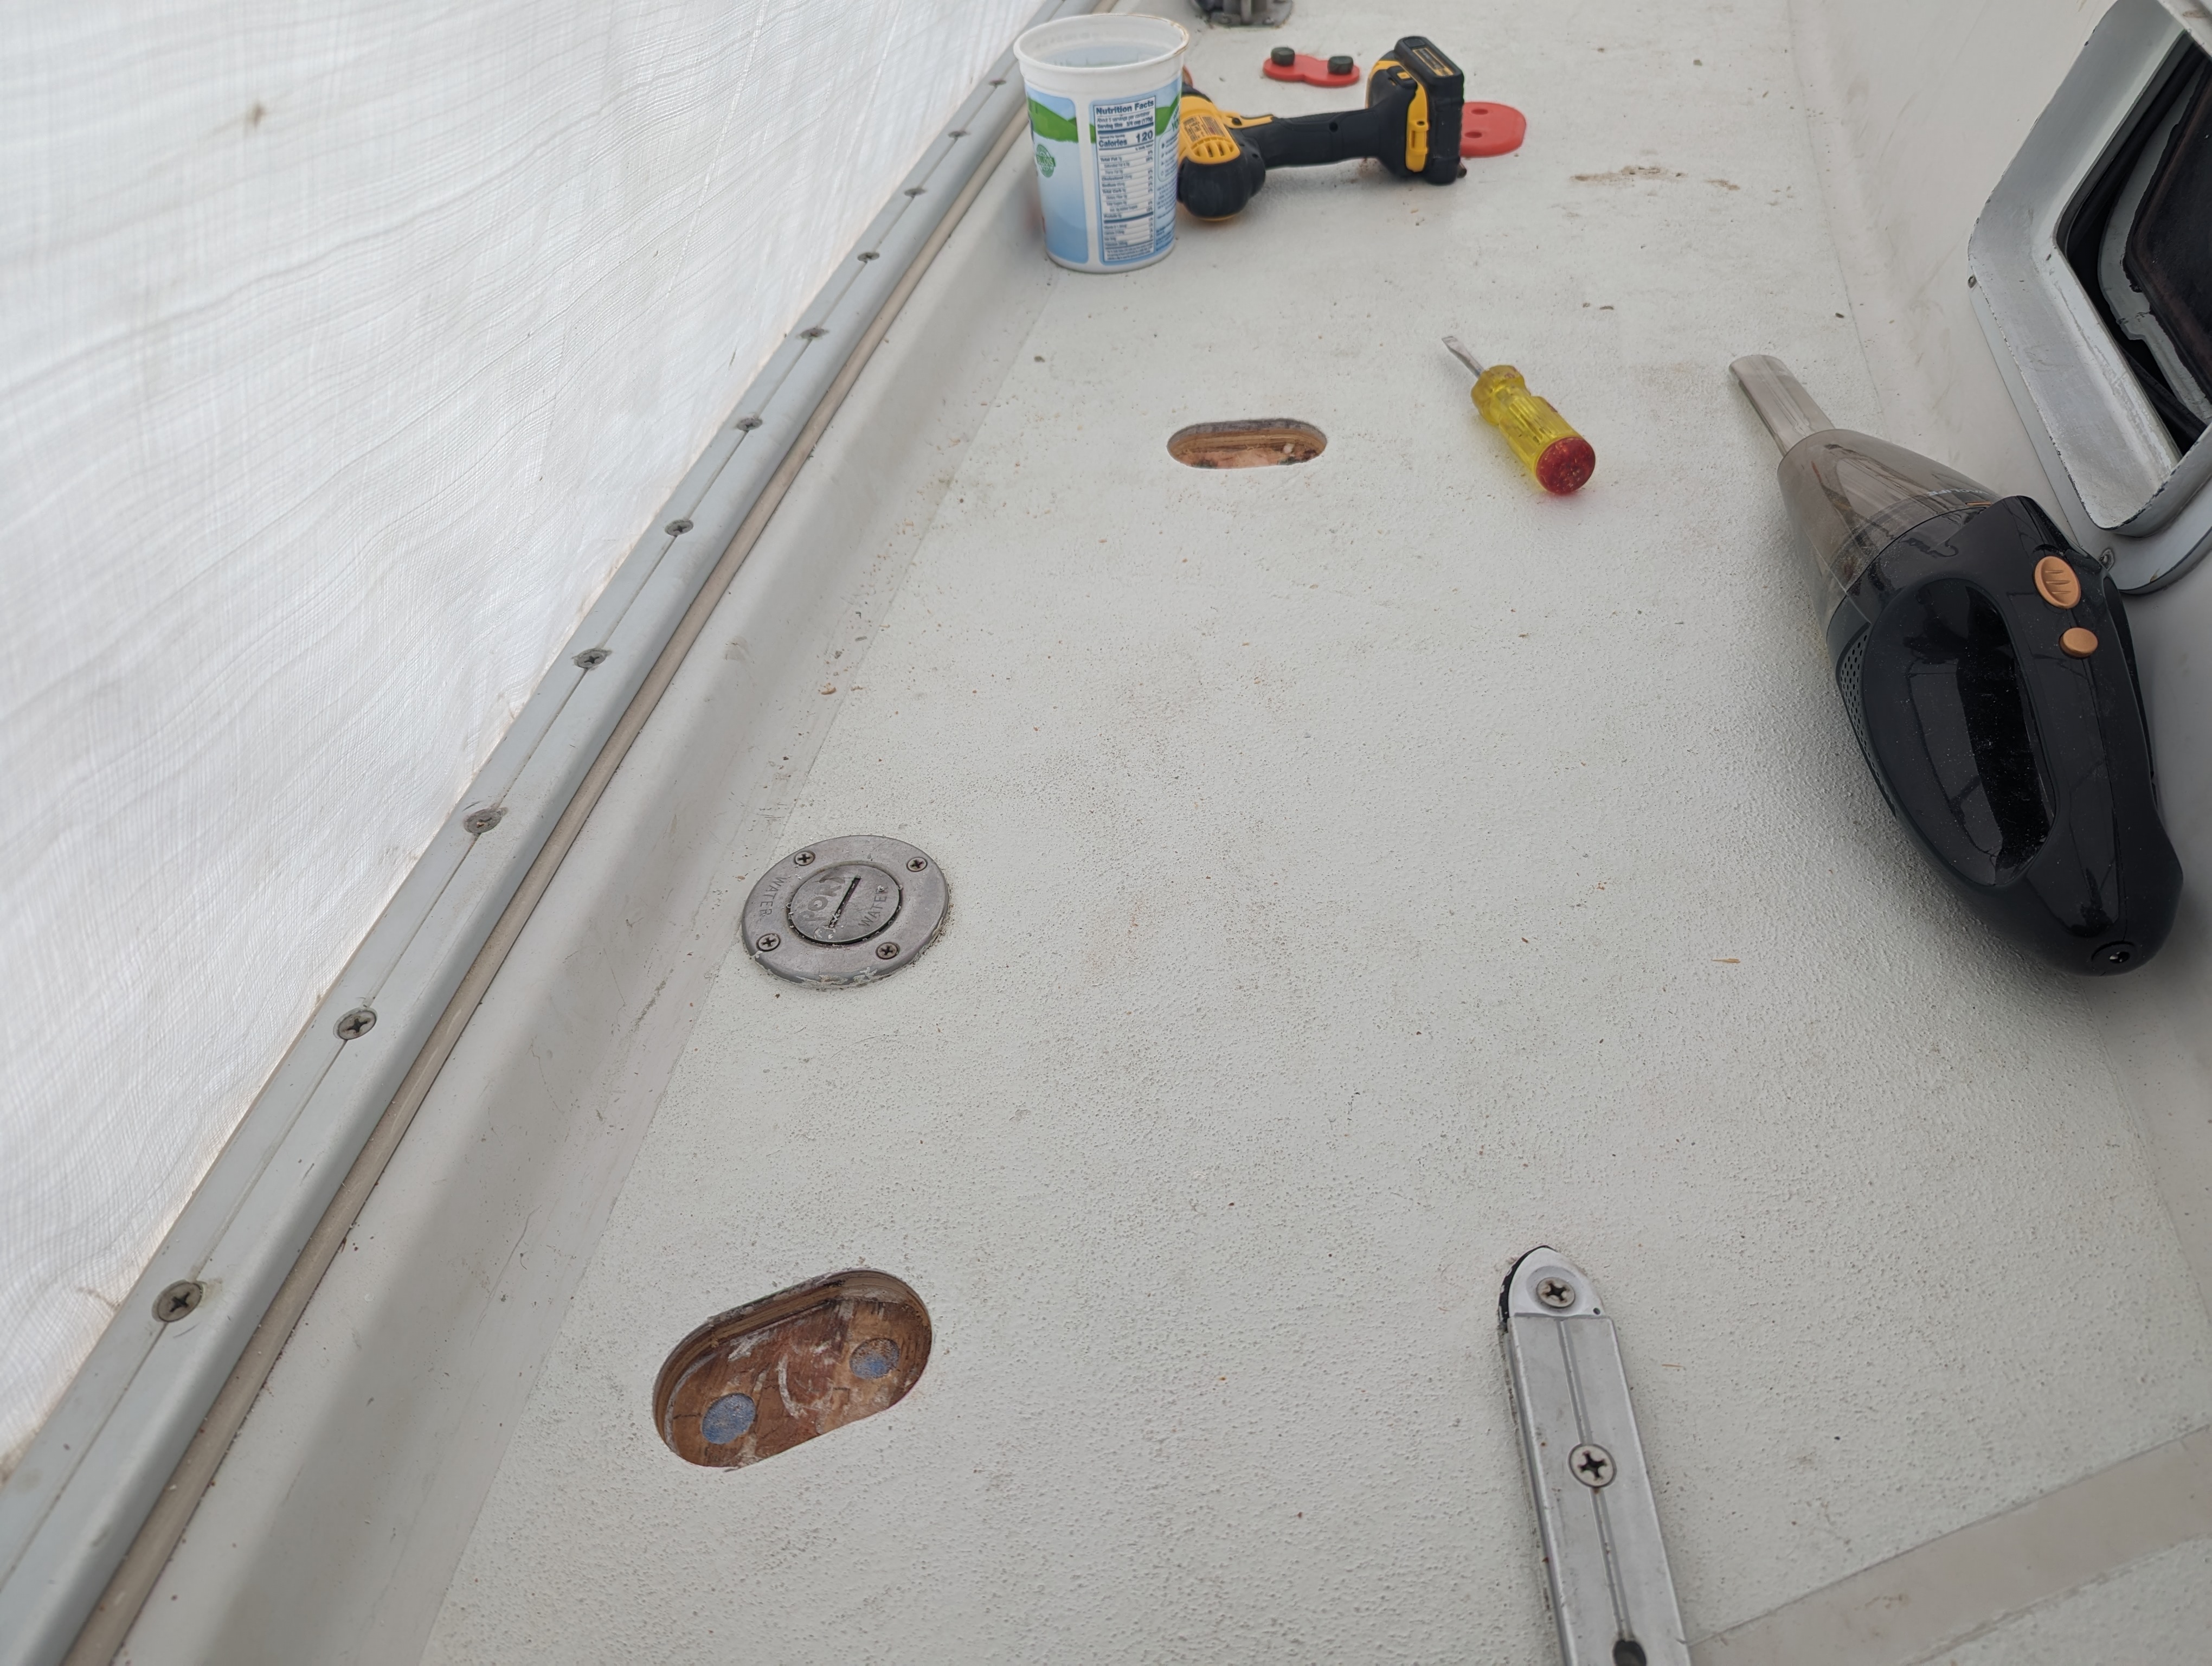
Once that was completed, it was time for the scary part: cutting holes in the deck so the assemblies would fit, leaving the top flange resting on the surface. Again, I employed a series of 3d printed jigs to locate and mark the cutout area and then used a hole saw and oscillating cutter to remove the top skin and inner core without removing the bottom skin on the underside of the deck. This was really the only tricky part because it was hard to tell exactly how far to drill without damaging the bottom skin. I opted for a conservative approach and left the cut about 0125" proud of the bottom skin and used a chisel to get the remaining core out. The good news was that despite clear water intrusion into the boat, the core was not wet (or rotten), just compressed. After I chiseled out the bottom part of the core and cleaned everything up, I fit the assemblies and was delighted to find that the bolt holes lined up nicely and the top flange covered up the hole.
The last thing to do was to epoxy it all in. I cut out 2 layers of biaxial fabric to epoxy to the bottom skin, wet them out and laid them in before starting on the assemblies. For the assemblies, I decided to use Thixo, the ready to go epoxy from TotalBoat that uses a standard caulking gun with a mixing tube to glue everything up. It is much more expensive than raw epoxy, but it keeps mess to a minimum and has a long working life. With that said, I spent alot of time taping the holes from the underside of the deck and then taping a large area around each hole so I didn't get epoxy all over the deck. Once ready, I cleaned up all the mating surfaces with acetone and then splooged a bunch of epoxy into the holes and onto each assembly (I did these one at a time). Then I simply mashed the assembly into the hole until epoxy squeezed out the edges of the flange. Finally, I cleaned up the squeeze out with a tongue depressor and weighted each assembly down and left for the day. Once everything had kicked the next morning I pulled the tape and and test fit the chainplate on each 'island'. I still have to paint them and of course get all the chainplate/tie rod assemblies bolted back in, but I'm really happy the way this project turned out. I think it's a solid design that will prevent core compression and the raised chainplates will discourage water from entering.


No comments:
Post a Comment