Since the end of August until late December, I had been singularly focused on boat projects, but over the holidays, I decided that I needed a bit of a break. I tend to get hyperfocused on projects and everything else falls by the wayside, but I was on schedule for the engine rebuild so it was time to shut the project down for a few weeks. I'm glad I did, I really needed a break but didn't realize it at the time.
Now that I'm back I was able to tackle one of the bigger projects of the build and hopefully will be about as deep as I go on this motor. When doing the initial inspection and research on the engine, I noticed a bit of oil staining on the bell housing underneath the flywheel. After a bit of googling on the usual forums, all signs indicated that it was a problem with the rear main seal.
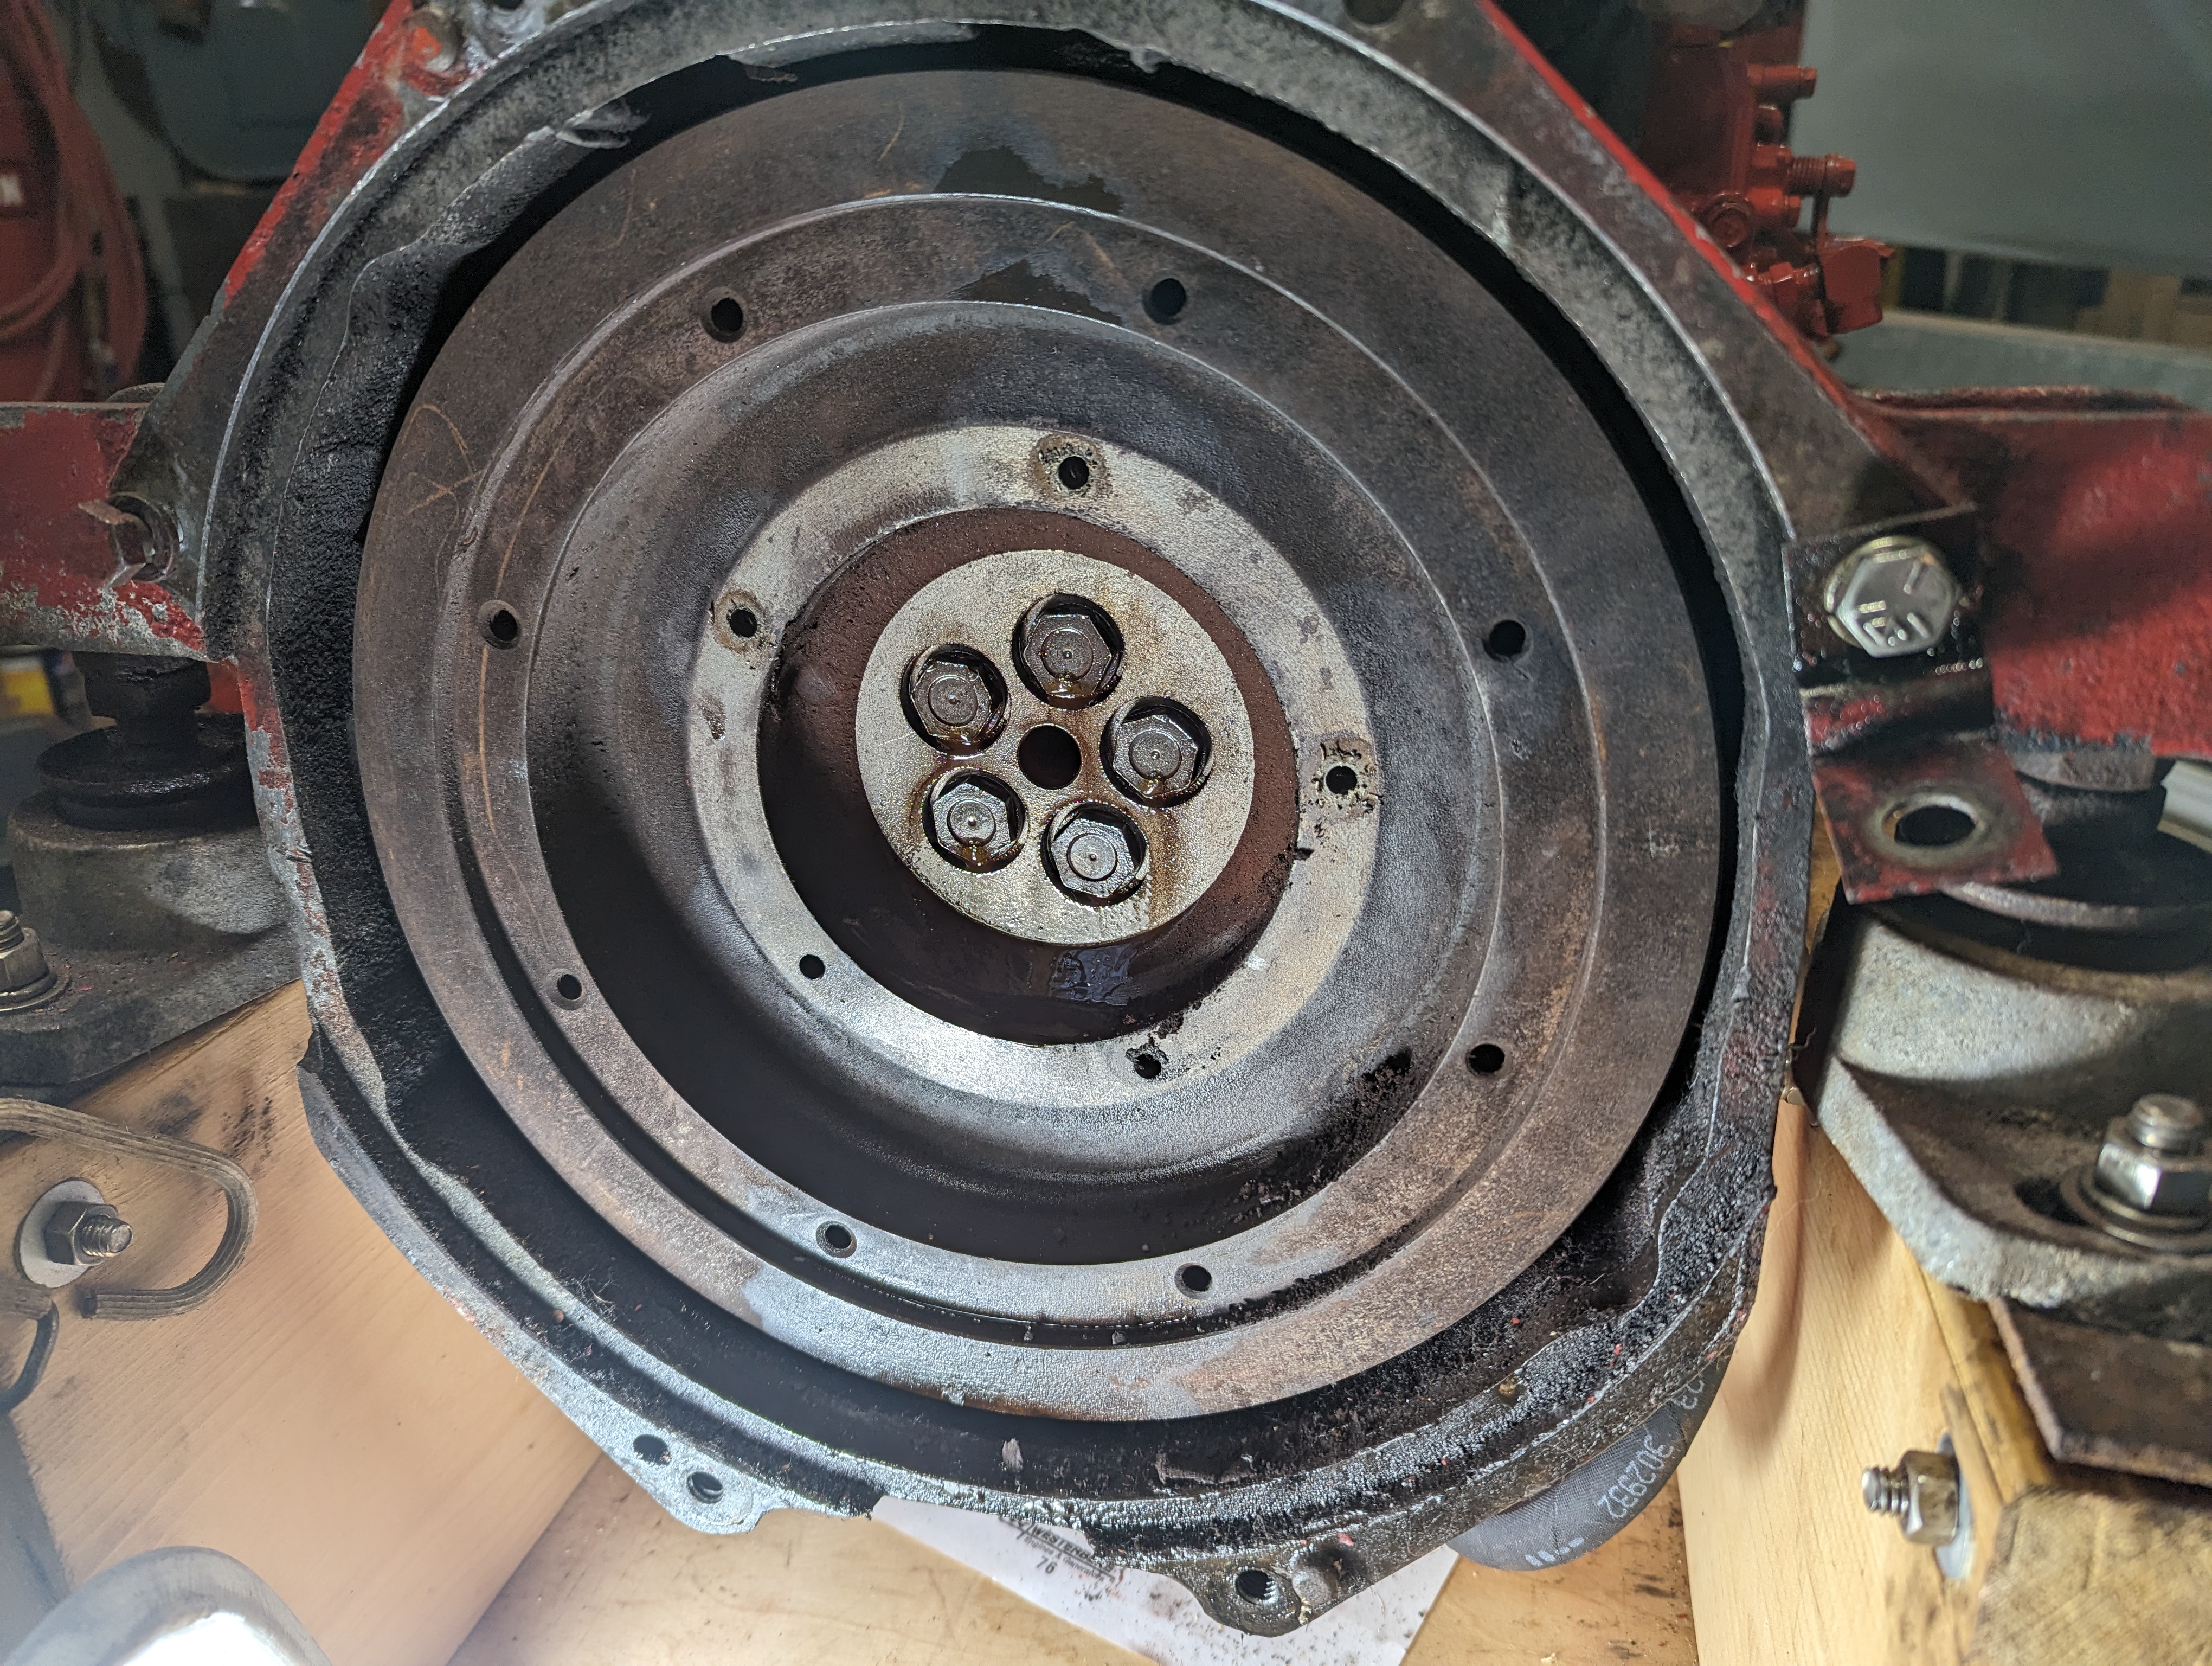
The oily liquid in the photo is mostly from PB Blaster that I was using to free up bolts on the damper plate, but the black oily residue on the bell housing is coming from behind the flywheel. I know that these old diesels tend to leak a fair amount of oil, but since I had a rear main seal on hand, I decided it was worth tackling the problem.
In theory, it's a very simple process, but this task was quite the struggle. First of all, I had to take it off the stand (it bolts onto the bell housing). I lowered the engine down onto the rolling cradle to secure it before removing the damper plate (this connects the the transmission and dampens shock loads from the transmission to the crankshaft and vice versa). This part was straight forward, remove 5 allen bolts and it pulled right off. I was really amazed that I didn't strip or break them off because they were very tight. This is where things got difficult. With the damper plate off, the bolts that fix the flywheel to the crankshaft were exposed. They weren't rusty or corroded, but quite dry and Very tight. Initially I tried the 19mm bolts with a standard 1/2" drive socket wrench and couldn't budge any of them. Next I tried my cordless impact wrench. Nothing. Finally, I slathered multiple coatings of PB Blaster on each bolt and called it a day.

The next day I tried a 2 foot breaker bar and while I did crack one of the bolts, I was starting to strip the heads on several of them... Time to rethink my strategy or I'd be in for a lot of trouble. I finally dug out my old compressed air impact wrench and fired up my 33 gallon compressor. At the wrench's 90 psi maximum rating I got the same result as with the electic impact wrench, which is to say: nothing. I decided to go for broke and turn the psi up to 140. I figured it would probably blow the seals on the wrench, but incredibly it actually wor ked and I didn't break a single bolt. All that banging on the bolts also freed up the flywheel from the cranshaft and it came right off the flange. All my reading up until that point lead me to believe that the flywheel was going to be stuck hard onto the crankshaft and would need a solid beating to get it off.
With the flywheel off, I had to lift the engine again with the chain hoist and then unbolt the bell housing before lowering it down onto wood blocks (the bell housing is cast with 2 of the 3 engine mount brackets, so when it comes off, the engine has to be supported another way). Technically, I could have replaced the rear main seal without removing the bell housing, but I wanted to replace the gasket between the engine and bell housing so it had to get pulled. I degreased and cleaned it all up before priming and painting it. Once the paint dried, I put a thin layer of permatex #2, re-gasket'd it and set it aside until the main seal was replaced.
Replacing the main seal was pretty straight forward. The seal is held on the crankshaft with an aluminum housing and the bolts holding that to the block came off without issue. With the housing and seal off, I inspected the crankshaft surface and it appeared to have some minor scoring marks on the surface where the seal was. I installed a shaft sleave (a thin ring of metal, interference fit), but realized that the flywheel wouldn't go back on with it in place so I had to cut it off. Hopefully the scoring in the crankshaft won't cause the new seal to leak, but I'm not going to pull the whole crankshaft (it would require a full engine teardown, and I'm not going there). So I just pressed the seal into the housing and then slid it over the crankshaft and bolted the housing back in place (along with a new housing gasket).
I re-installed the bell housing and with the help of my son, we wrestled the flywheel back in place and bolted it on with the new OEM bolts I ordered. I wasn't going to re-use the original bolts after the beating they took getting them off. Finally, I bolted the damper plate back on and called it a day. Time will tell if the seal still leaks, but it will be better than before.


No comments:
Post a Comment