The first thing I found with the new toilet was that the bolt pattern didn't match up and 2 of the backing nuts would be located in a totally inaccessible area without cutting away some of the fiberglass pan in the head. So I decided to cut a piece of plywood that would fit on top of the existing pan and install recessed tee nuts on the bottom so I could wouldn't have to deal with trying to spin a nut on. Once I cut out the shape on the plywood, I marked the location of the head mounting bolts and tapped and recessed where the tee nuts would be located before encapsulating the whole thing in epoxy followed by 3 coats of Kirby paint. I know it's going to be wet in there so the epoxy coating should keep the wood from getting saturated.
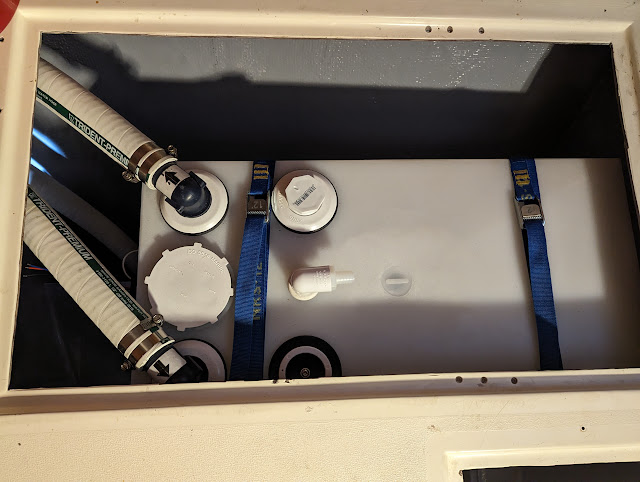
While I was waiting for the paint to dry I started plumbing the hoses, vented loops, and the lockable y-valve to divert the head discharge to either the holding tank or overboard. The only thing to say about this is that the 1-1/2" Trident Premium sanitation hose is tough to bend and hard to wrestle through bulkheads. The raw water hoses (3/4") were quite a bit easier to work with, but the cramped quarters made everything a challenge and took much longer than expected. I made sure that the hose runs had no low spots where sewage could sit and made the runs as short as possible. I also did a vented loop for the toilet discharge (before the y-valve) and for the raw water (between pump and where it enters the toilet).I waited for a few days for the paint to dry and then stuck the new platform in place with 3M 5200 and moutned the toilet. I left the hose connections to the toilet that I had previously installed a bit long so I could measure and cut them accurately once the toilet was bolted in place. The final piece of the installation was to mount the Scad Tank Monitor to the holding tank and install the display next to the outlet in the head. I still have to run the connection to the breaker panel, and will need to fasten the hoses with zip ties, but probably won't get to that until I tackle the electrical system. I'm happy with the result and think the install will be serviceable in the future.


Hi, We are the proud owners of a 1978 35. Lots of the same repairs and updates you have done. It's a great boat. We've cruised widely in the northern Great Lakes. Eb Wickes, Traverse City, MI (989) 821-1107 Give me a call if you feel like it, I've some solutions to share.
ReplyDeleteGreat, I can use all the help I can get. I'm really having fun with this rebuild, the boat has great bones compared to other boats I've restored over the years.
ReplyDelete